Prerequisites
- A 4GB or larger flash drive (USB 3.0 model recommended for speed)
- A PC running Windows 10
Downloads
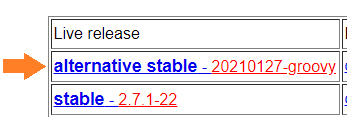
- Download the Clonezilla alternative stable version from https://clonezilla.org/downloads.php
- Direct Link to ISO
Creating the flash drive

- Download the ISO file and Rufus tool, linked above
- Insert your flash drive and run Rufus
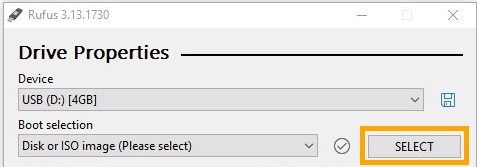
- Click Select and choose the ISO file you just downloaded.
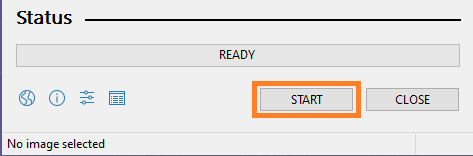
- Click START
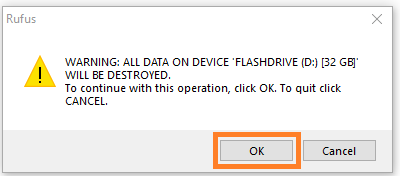
- Click OK. This will erase your flash drive and turn it into an Ubuntu installer.
- Wait for Rufus to complete.
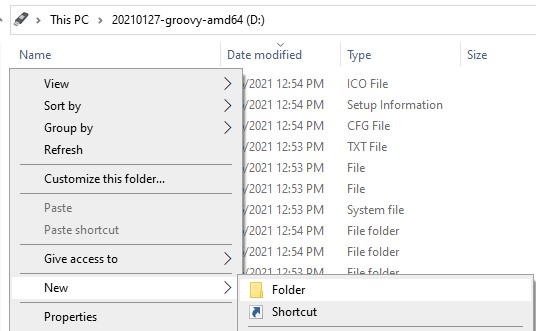
- Create a new folder on the flash drive to contain your images. It must not contain any spaces. In this example, we name it TERA-MK100-40-R1
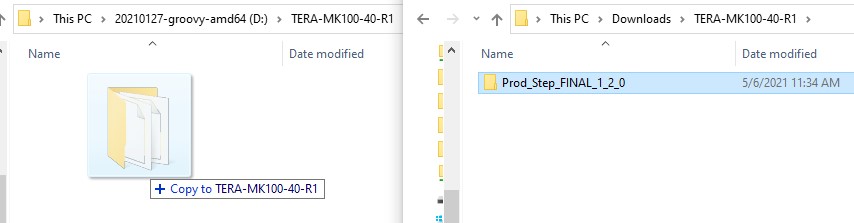
- Copy the folder containing your image into the images folder
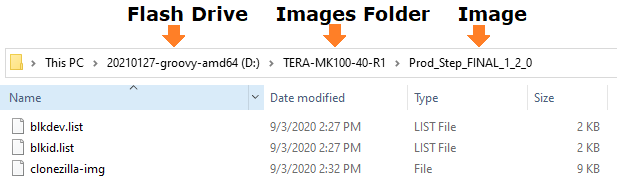
- Final Result:
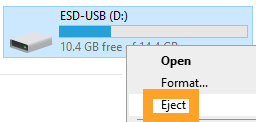
- Safely eject the flash drive and unplug it from the PC.
Using Clonezilla
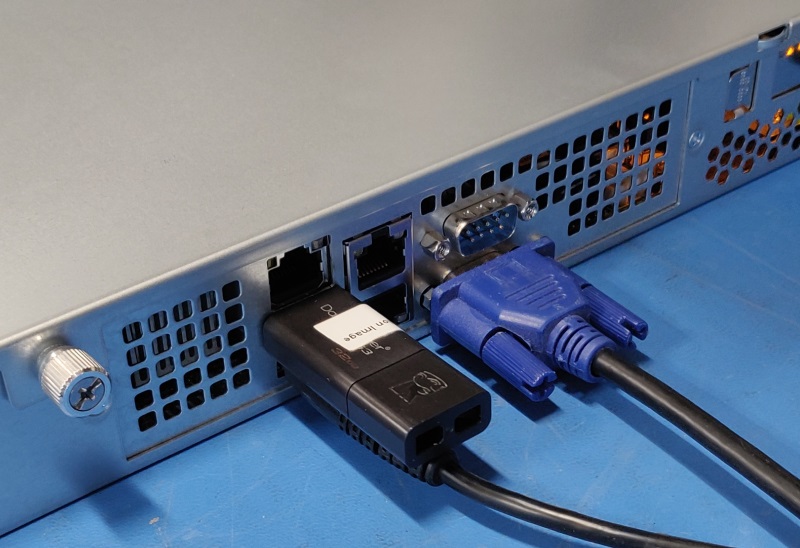
- Connect your newly created flash drive to the OnLogic PC and power it on.
- If no operating system is installed, the system will likely boot right into Clonezilla.
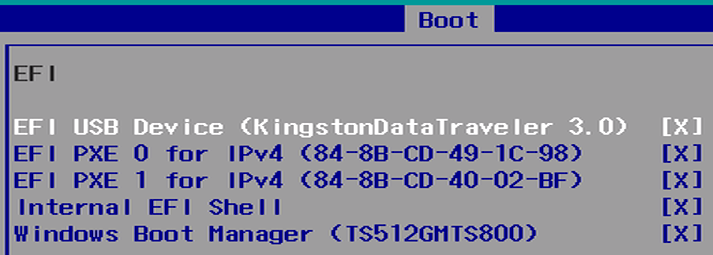
- If it does not, Press F2 or Delete to access the BIOS. Under the Boot tab, make it the first boot device.
- Exact boot instructions vary by model. If you need assistance, contact support@onlogic.com.
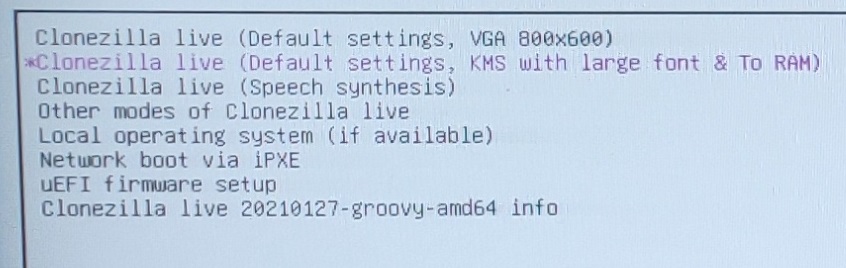
- Select the 2nd option at the Clonezilla boot menu (ending with “& To RAM”)
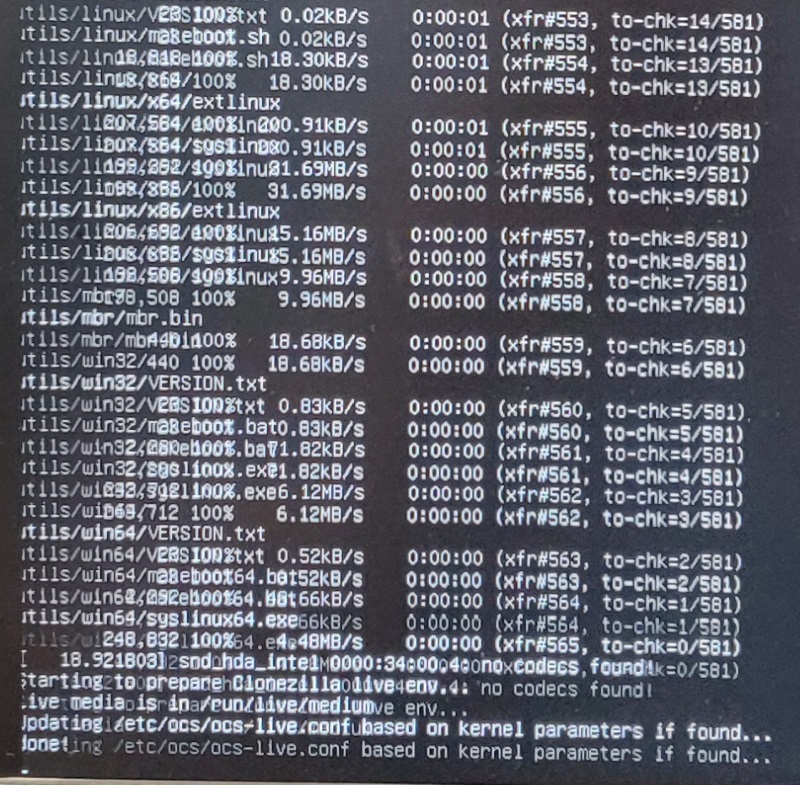
- Some unimportant text will fly by as Clonezilla boots up
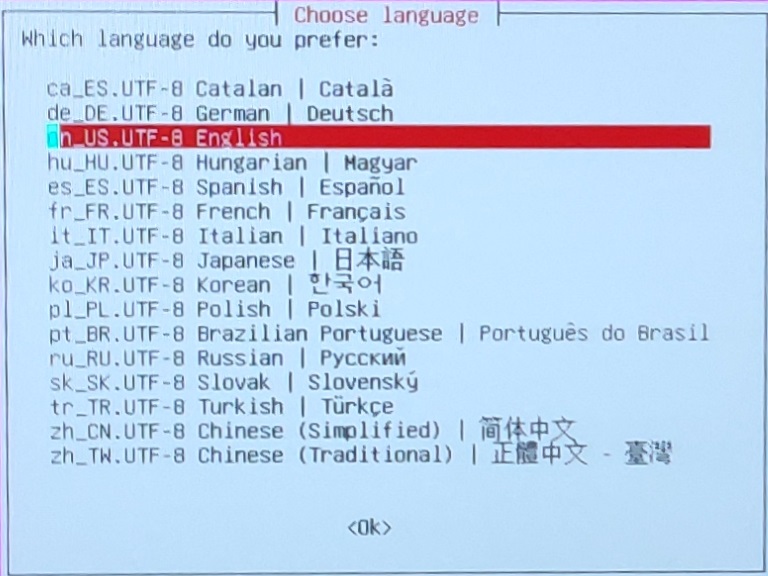
- Press enter to select Language.
- English is recommended to match this guide
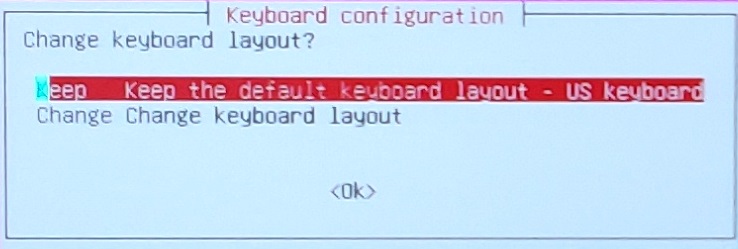
- Press enter to select keyboard layout.
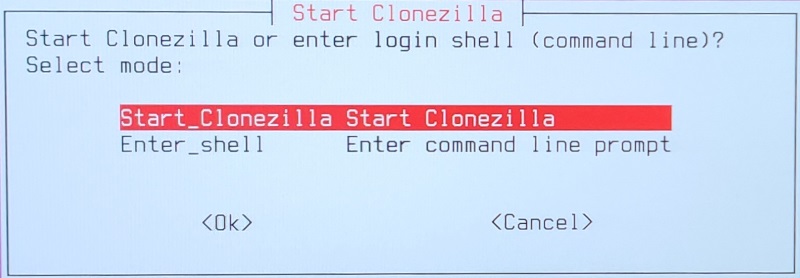
- Press enter to start Clonezilla
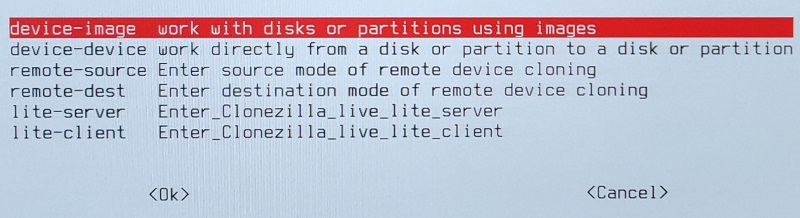
- Choose the device-image option (default)
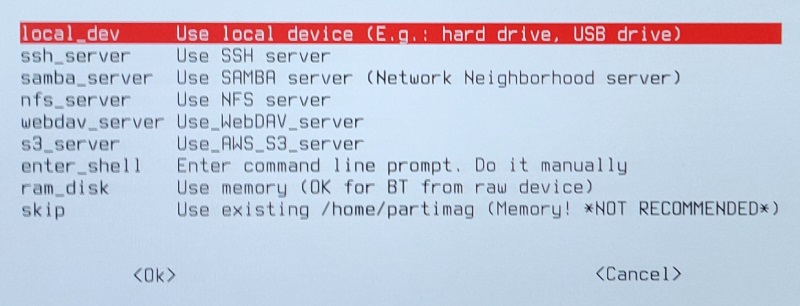
- Choose the local_dev option (default)
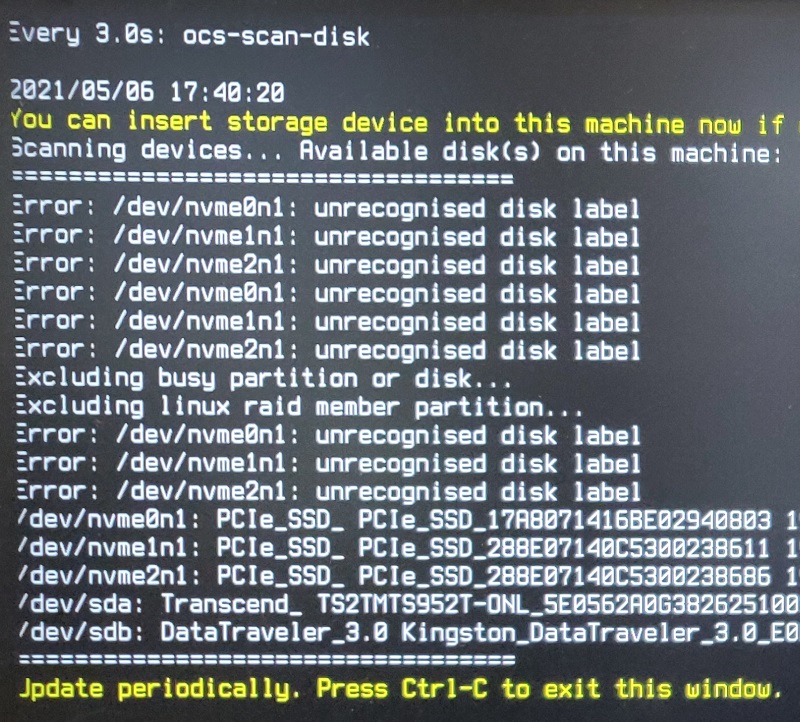
- A list of the disk drives will be printed. This can be helpful for reference but can usually be ignored. Press control-C to close it.
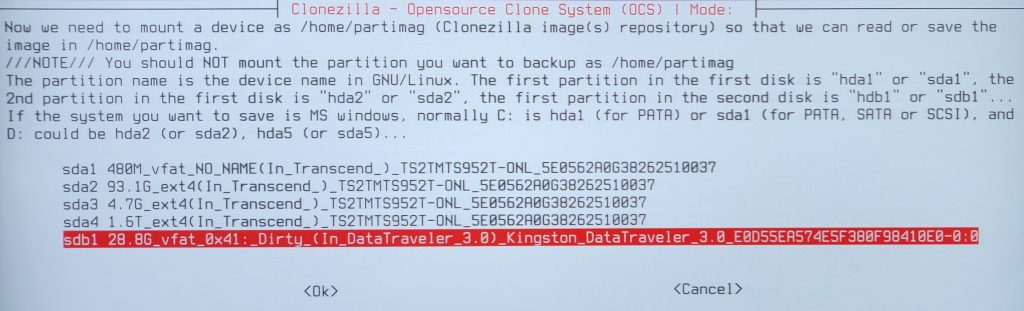
- Select your USB flash drive as the source defice
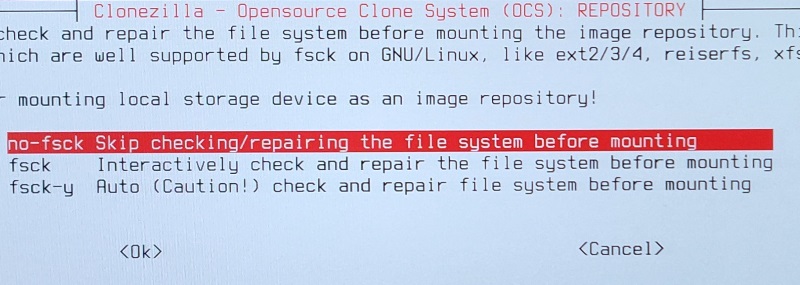
- no-fsck is fine
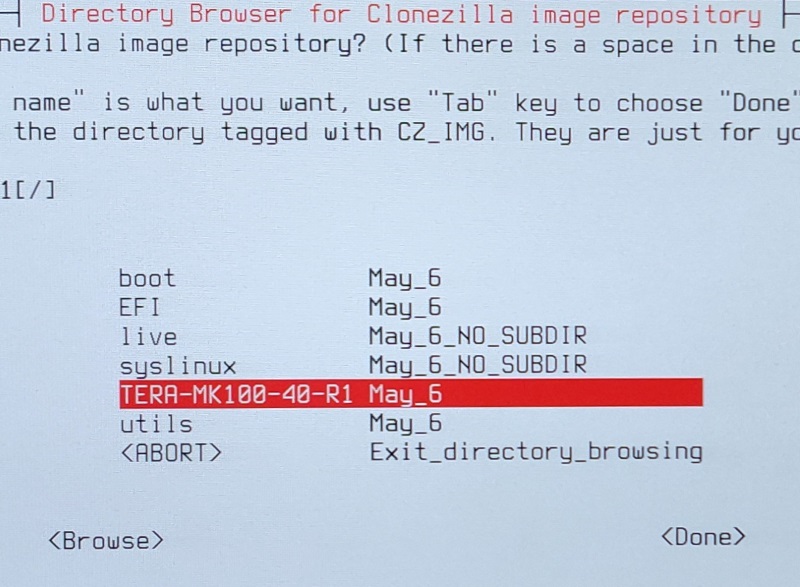
- Select your images folder and press enter
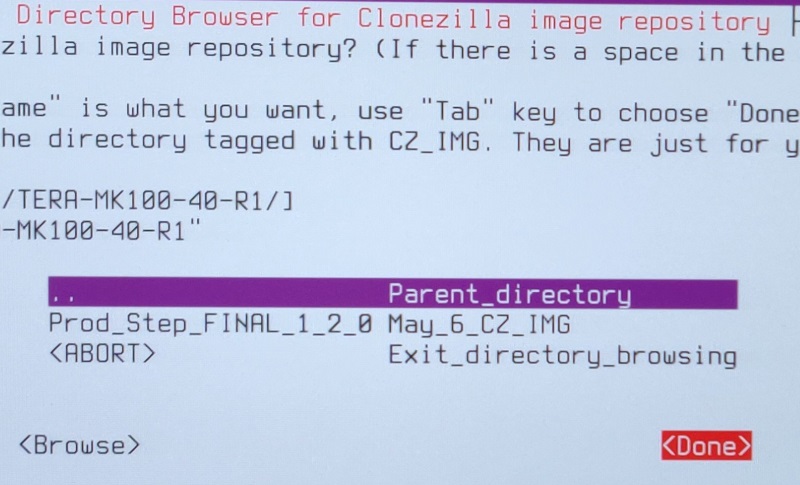
- Do not go any further into the folders.
- Press tab twice and enter to select Done
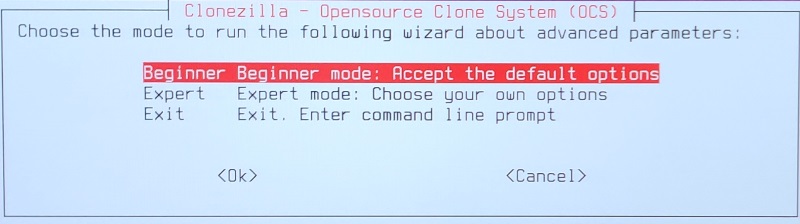
- Beginner mode is best for our purposes
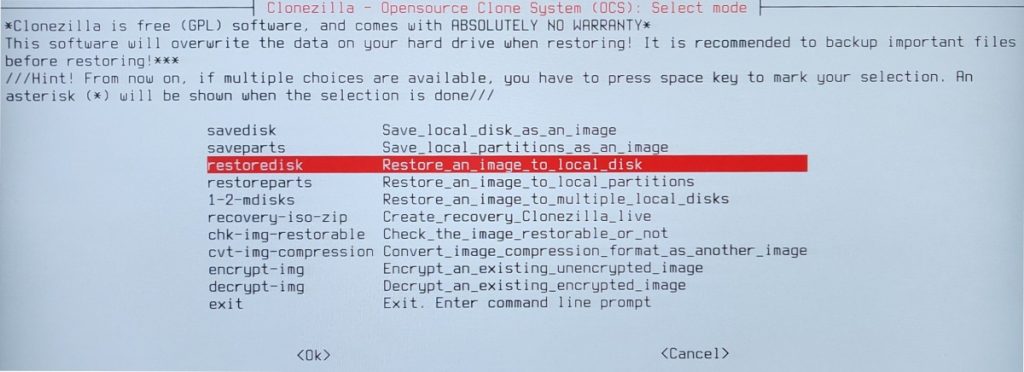
- Choose the restoredisk option
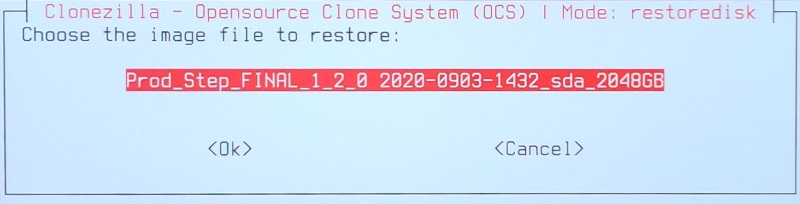
- You will be prompted to select an image from your images folder.
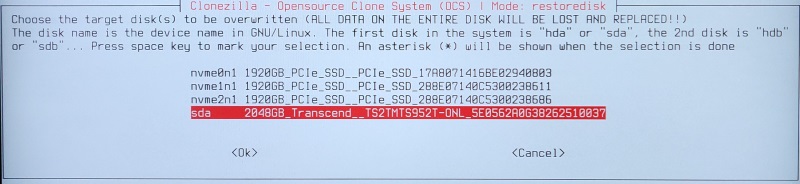
- Now you will be prompted to choose which disk the image is applied to. In this example, the Transcend drive is our boot drive so we select it.

- Yes, check the image before restoring
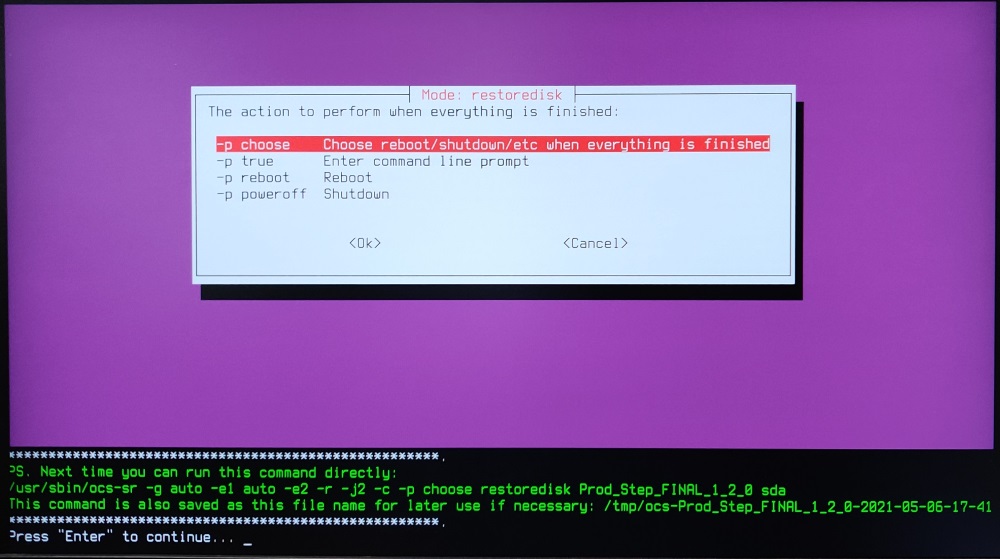
- Press enter twice to continue.
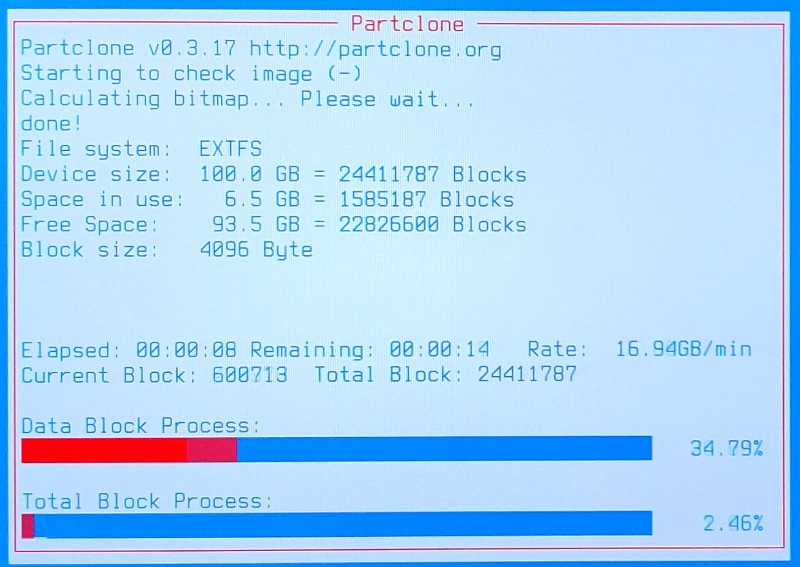
- The image restore process will now begin!

- Additional Yes/No prompts may appear as Clonezilla processes your image. Type Y and press enter on each one.
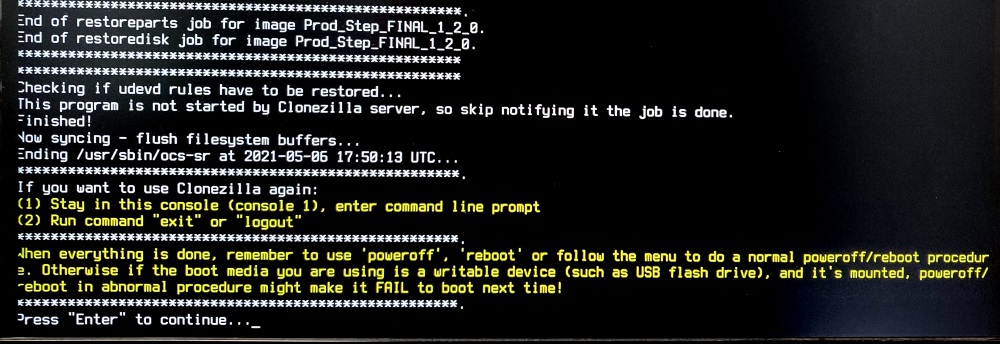
- Success! The image has been applied. Press enter to continue as the prompt on the screen says.

- Select the reboot option and immediately unplug your flash drive.
- The system will restart and should boot right up into your restored image.