Some drivers do not come with an installer and need to be installed manually. This is done via Device Manager. This guide will show you how.
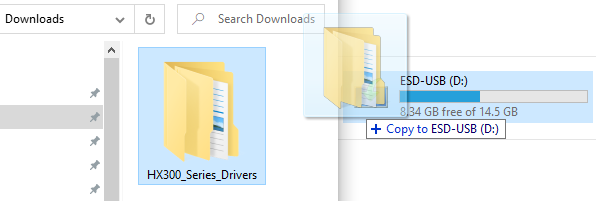
- Copy the driver files to a USB flash drive.
- If the drivers are contained inside a .zip file, extract them first.
- In this example, we use the same flash drive we installed Windows 10 from
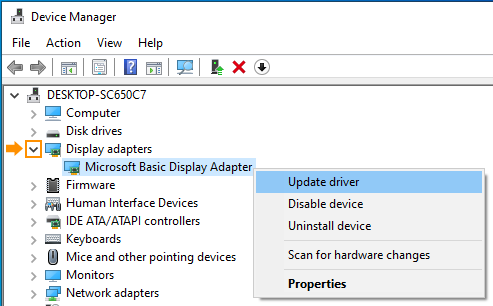
- Eject the flash drive and connect it to the OnLogic PC. Type “Device Manager” into the start menu and launch Device Manager.

- Expand the Display adapters menu. If you see “Microsoft Basic Display Adapter”, that means you are missing the driver. Right click and choose “Update driver”.
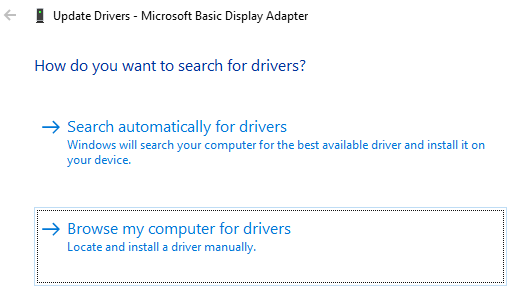
- Select the “Browse my computer for drivers” option
- Click on “Browse…”
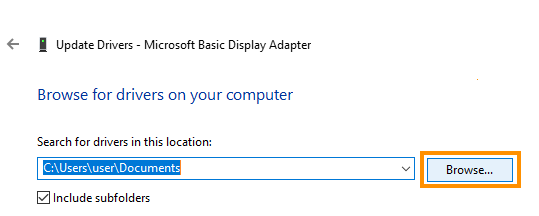
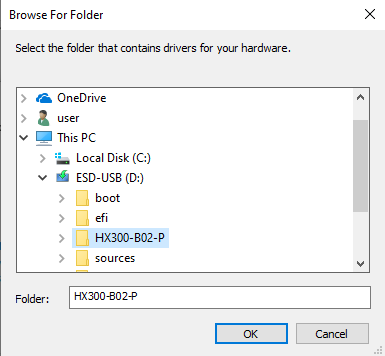
- Locate the folder on your flash drive with the drivers inside it. Click on the folder and click OK.
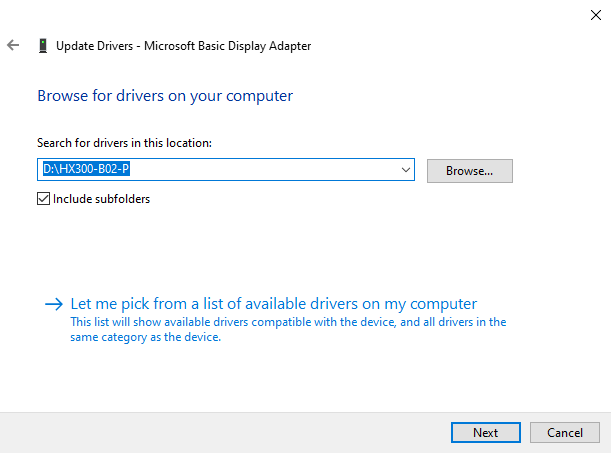
- Now that the location shows where your driver folder is, click Next
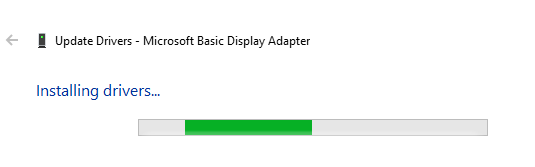
- Windows will now search that folder for the correct drivers and install them automatically.
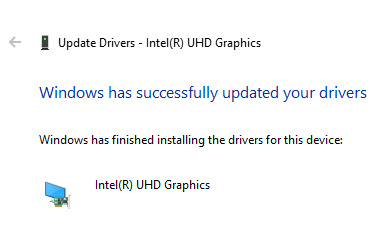
- Success! If you get a failure message, go back and make sure you copied all of the drivers to the flash drive and that they are not still inside a zip file. You need to extract them.
- Repeat this process for all other devices marked with the yellow exclamation point. Typically, they will all be found under the “Other devices” heading.

- When you no longer have any marked devices the process is complete. A reboot of the system is recommended.
