DA-1100 Motherboard Manual
https://www.cincoze.com/goods_info.php?id=258#tab-4
DA-1100 Drivers
https://drive.google.com/drive/folders/1KMDhD-DRR8iv4H4H0szIeTK1sbLwxUej
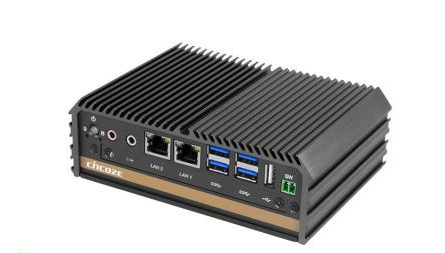
How to Enable Auto Power On
The DA-1100 has two options for auto power on. In this section we will go over the two options step by step.
Option 1: Hardware
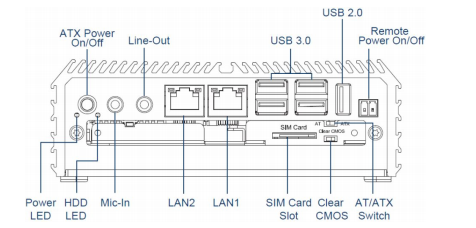
The easiest of the two methods to auto power on the DA-1100 is to use the switch on the front side of the unit. Follow these steps to do so:
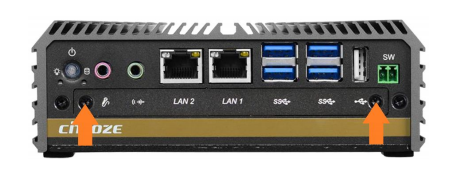
- Remove the two Torx T10 screws shown by the arrows below:
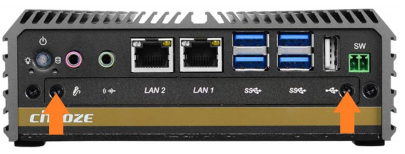
- Slide the AT/ATX switch over to AT.
- Auto power on is now enabled..
The downside of this method is that the power button is completely disabled. If you shut down the PC, you will need to cycle power to restart it. If that is an issue for your use case, use option 2 instead.
Option 2: BIOS
- Power on the system and immediately press the Del key a few times to access the BIOS.
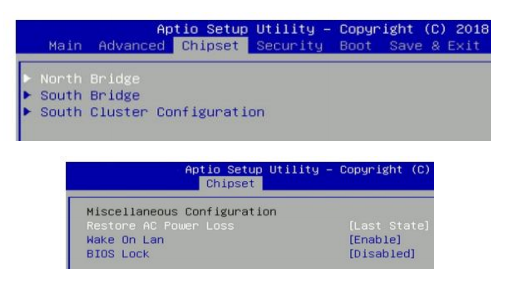
- Navigate over to the Chipset tab and open the South Cluster menu.
- Open the Miscellaneous Configuration menu.
- Change the option Restore AC Power Loss to [Power on].
- Navigate to the Save & Exit tab and choose “Save Changes and Reset”
How to Clear CMOS
1. Disconnect the unit from all connections (power, USB, ethernet, etc.)
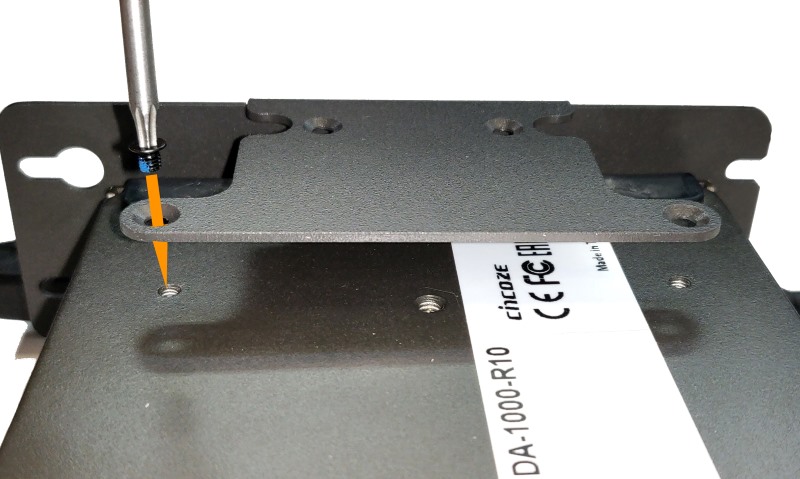
2. Remove the two Torx T10 screws shown by the orange arrows below:
3. Press the clear CMOS switch for 30 seconds.
4. The CMOS is now clear. Reassemble and re-test the system

How to install the SIDE02 DIN mount
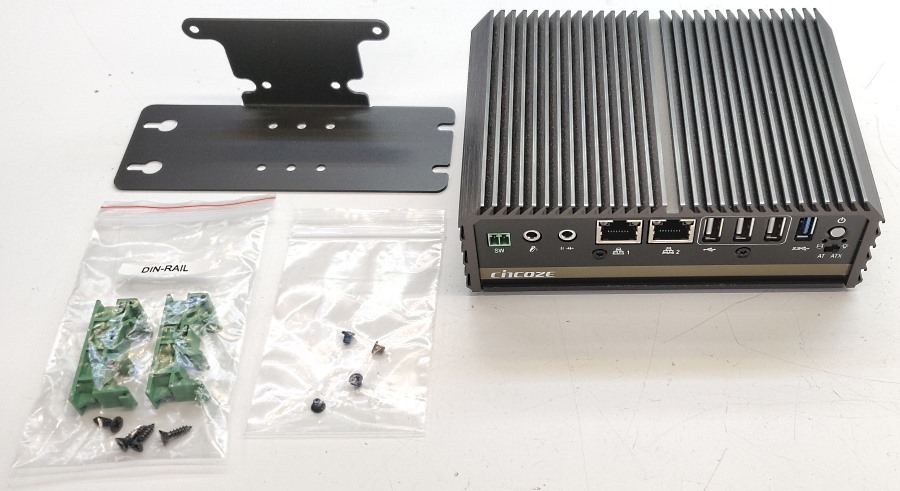
- Remove the mounting hardware from the box
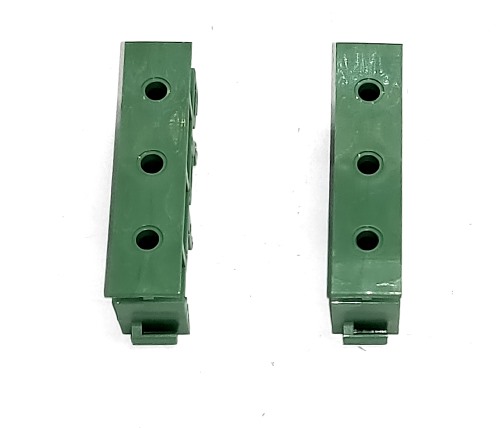
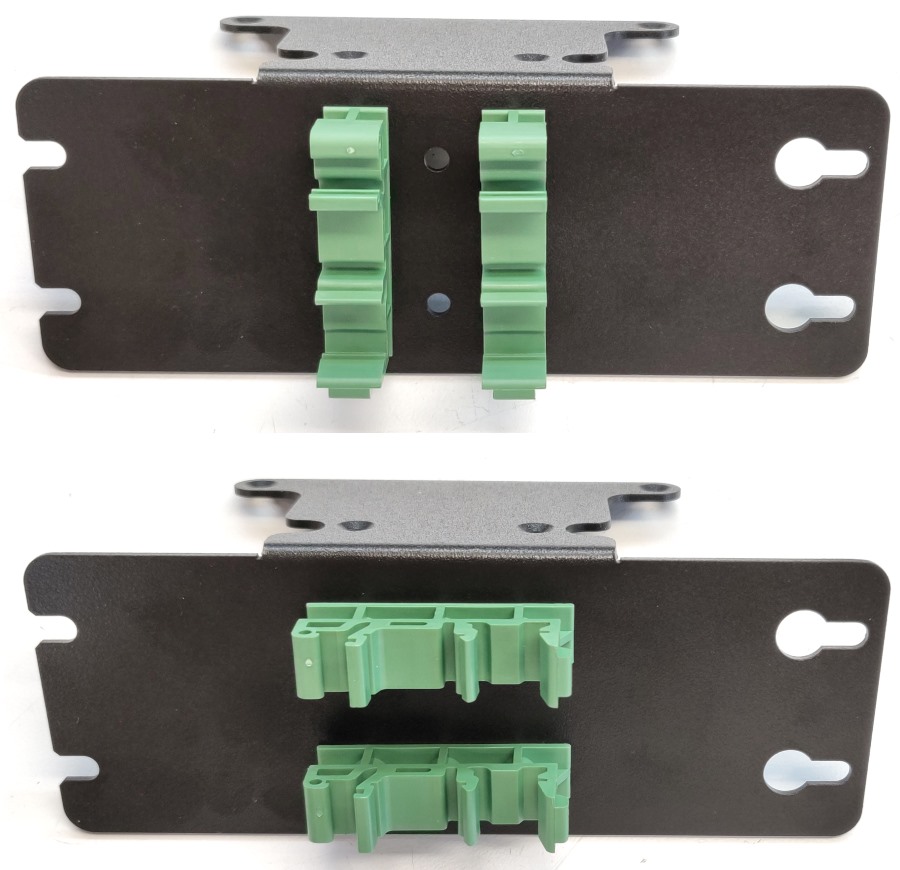
- Set the green DIN clips on your worksurface, ensuring the plastic tabs are facing the same way.
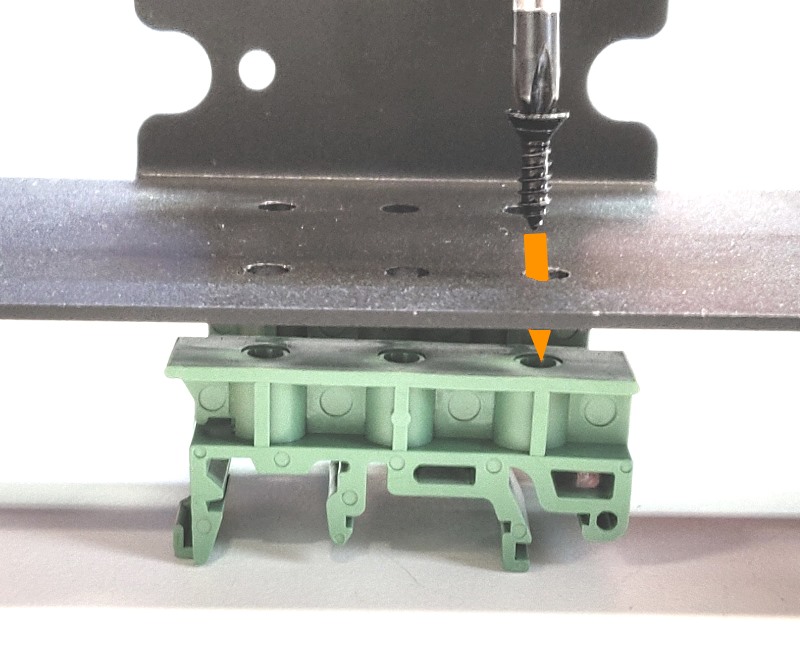
- Using the screws that came in the bag with the DIN clips, install them onto the mounting bracket.
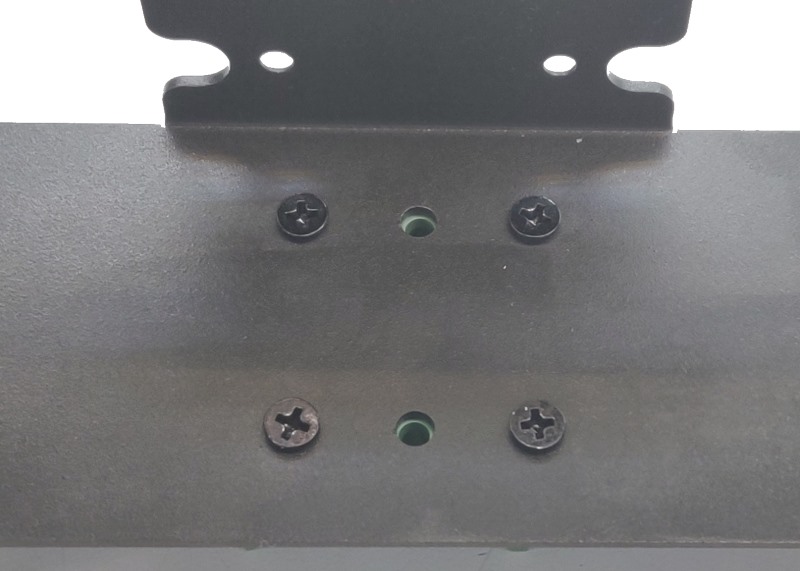
- Install 4 screws total, leaving the middle hole open
- Either orientation is acceptable, it can be rotated depending on your installation needs.
- Mount the bracket to the bottom of the system using the 4 included M3 Torx T10 screws
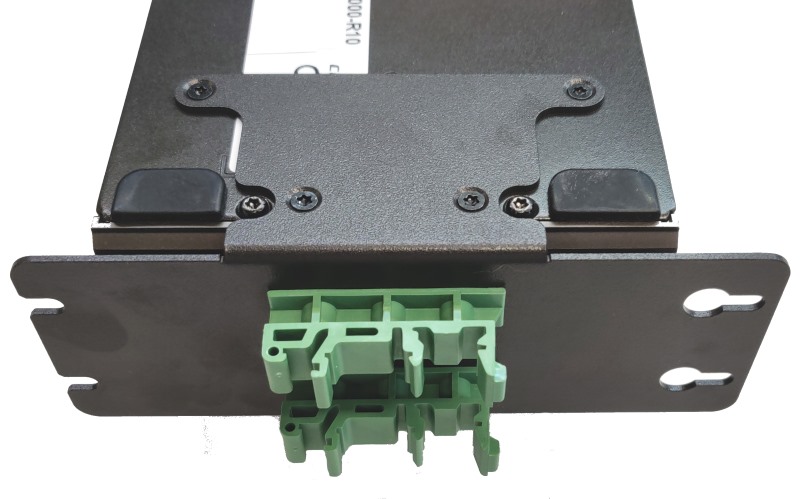
- The bracket is now installed and ready for use.
Known Issues / Troubleshooting
mSATA storage is not detected
If your system has an mSATA installed, the mSATA drive is installed into an mPCIe/mSATA slot. This slot has a BIOS setting selector to set how the device is detected, and needs to match. If an installed mSATA is not detected in the BIOS or OS installer, check to make sure the BIOS setting is set to mSATA.
This does not apply to 2.5″ storage drives.
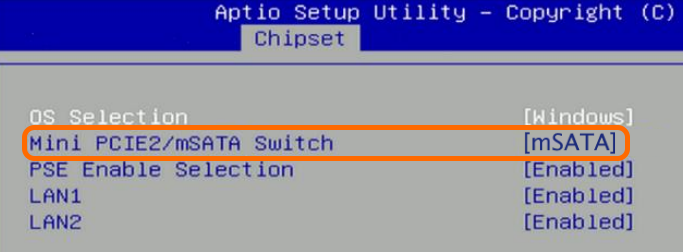
- Go to Chipset -> South Bridge -> Mini PCIE2/mSATA Switch -> Set this to “mSATA“
- Press F10 to Save & Exit